Halpi's Rift: Difference between revisions
From Kings of War Wiki
| (6 intermediate revisions by the same user not shown) | |||
| Line 10: | Line 10: | ||
* [[Conclusion IV - War in the Holds]] | * [[Conclusion IV - War in the Holds]] | ||
* [[Conclusion V - Little Rat]]|Outcome=* Opening of the rift underneath [[Halpi Mountains]] | * [[Conclusion V - Little Rat]]|Outcome=* Opening of the rift underneath [[Halpi Mountains]] | ||
|Date=3865|strength1=|strength2=|Last Battle=|image=Kow-web-campaign-halpi-nexus-rift-768x622.jpg|logo1=[[File:Abyssal-dwarfs-icon.png|link=Abyssal Dwarfs|100px]]|Factions1=* [[Free Dwarfs]] | |Date=3865|strength1=|strength2=[[Free Dwarfs]] | ||
* [[Jorden Talensen]]|Last Battle=|image=Kow-web-campaign-halpi-nexus-rift-768x622.jpg|logo1=[[File:Abyssal-dwarfs-icon.png|link=Abyssal Dwarfs|100px]]|Factions1=* [[Free Dwarfs]] | |||
* [[Dwarfs]] | * [[Dwarfs]] | ||
* [[Northern Alliance]]|Factions2=* [[Abyssal Dwarfs]] | * [[Northern Alliance]]|Factions2=* [[Abyssal Dwarfs]] | ||
| Line 23: | Line 24: | ||
One of these [[Overmaster|Overmasters]] was [[Dravak Dalken]] whose experiments were more extreme than even most [[Abyssal Dwarfs]] were comfortable with. | One of these [[Overmaster|Overmasters]] was [[Dravak Dalken]] whose experiments were more extreme than even most [[Abyssal Dwarfs]] were comfortable with. | ||
===Discovery of the Rift=== | |||
===Halpi's Rift Conflict=== | ===Halpi's Rift Conflict=== | ||
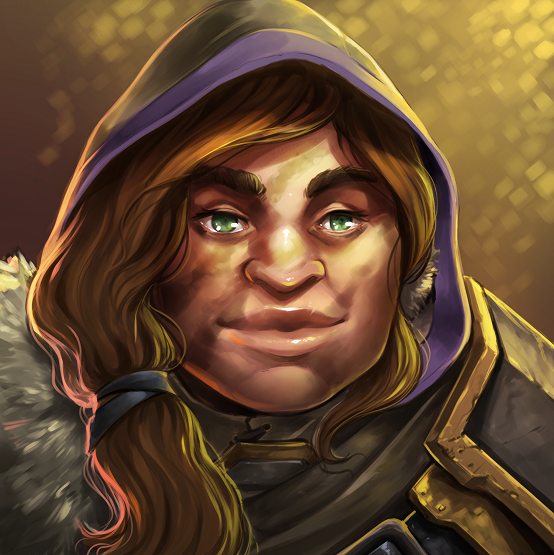
{{Kingsofwarchampionslogo}}[[Jorden Talensen]] joined a battalion of [[Free Dwarfs]] which travelled to [[Rhyn Dufaris]] and fought in the conflict in the mountain tunnels. | |||
=== | <br><br><br><br> | ||
===Closing of the Rift=== | |||
* [https://kingsofwarwiki.com/PDFs/Other/Conclusion%20I%20-%20Talannar's%20Torment%20-%20Kings%20of%20War.htm Conclusion I - Talannar's Torment] | * [https://kingsofwarwiki.com/PDFs/Other/Conclusion%20I%20-%20Talannar's%20Torment%20-%20Kings%20of%20War.htm Conclusion I - Talannar's Torment] | ||
* [https://kingsofwarwiki.com/PDFs/Other/Conclusion%20II%20-%20Closing%20of%20the%20Rift%20-%20Kings%20of%20War.htm Conclusion II - Closing of the Rift] | * [https://kingsofwarwiki.com/PDFs/Other/Conclusion%20II%20-%20Closing%20of%20the%20Rift%20-%20Kings%20of%20War.htm Conclusion II - Closing of the Rift] | ||
| Line 33: | Line 39: | ||
{{WarintheHoldslogo}}[[Grupp Longnail]] managed to evade capture by the [[Abyssal Dwarfs]] eventually arriving at [[Creidd Aran]]. Upon arriving, she came across a group of Goblins being led by [[Gritter Fingernipper]]. Gritter welcomed Grupp into his forces and they fought many battles against the [[Ratkin]] with Grupps gauntlets being critical in their success. Over time, more [[goblins]] joined [[Gritter Fingernipper|Gritter]] forces. Accompanied by a pack of [[mawbeasts]] and [[Grupp Longnail|Grupp's]] gauntlets, the goblin forces defeated waves and waves of [[Ratkin]]. Eventually, [[Grogger Split-Tooth]] asked Gritter to being Grupp to [[Glimmer]] | {{WarintheHoldslogo}}[[Grupp Longnail]] managed to evade capture by the [[Abyssal Dwarfs]] eventually arriving at [[Creidd Aran]]. Upon arriving, she came across a group of Goblins being led by [[Gritter Fingernipper]]. Gritter welcomed Grupp into his forces and they fought many battles against the [[Ratkin]] with Grupps gauntlets being critical in their success. Over time, more [[goblins]] joined [[Gritter Fingernipper|Gritter]] forces. Accompanied by a pack of [[mawbeasts]] and [[Grupp Longnail|Grupp's]] gauntlets, the goblin forces defeated waves and waves of [[Ratkin]]. Eventually, [[Grogger Split-Tooth]] asked Gritter to being Grupp to [[Glimmer]] | ||
* [https://kingsofwarwiki.com/PDFs/Other/Conclusion%20V%20-%20Little%20Rat%20-%20Kings%20of%20War.htm Conclusion V - Little Rat] | * [https://kingsofwarwiki.com/PDFs/Other/Conclusion%20V%20-%20Little%20Rat%20-%20Kings%20of%20War.htm Conclusion V - Little Rat] | ||
===Post-Halpi's Rift=== | |||
{{Mantic}} | {{Mantic}} | ||
